
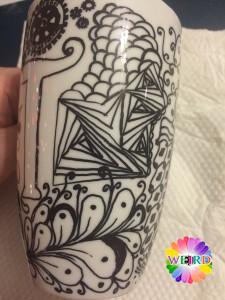
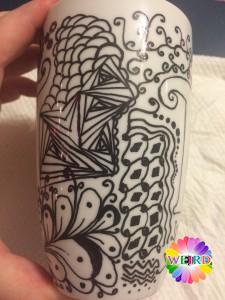
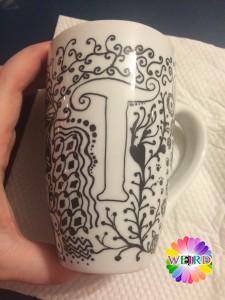
A new craft project I picked up this winter: Zentangle mugs.
I did some research on Pinterest and around other places (including The Cozy Old Farmhouse) before starting my first zentangle mug project. Then I just dove right in, making myself a mug with my initial “R” on it, so that if it turned out really badly then it was just an experiment and I didn’t lose anything! It actually turned out really nicely, and I was very pleased. I have made about 12 of them now!
Several people have asked me about the process I use for the mugs, so I took photos the last time I ‘tangled a mug.
Supplies Needed for Zentangle Mugs:
I’ll post links to items on Amazon where you can see them. Amazon.com links for US residents, Amazon.ca links for Canadian residents.
- Sharpie Oil Based Marker Pen – Extra Fine, in your choice of colour (or similar oil-based paint pen) [Sharpie black paint pen on Amazon.com & Sharpie Oil-Based Paint Markers, Extra Fine Point, Black Box of 12
on Amazon.ca]
- Mug
- Glass Cleaner
- Paper Towels
- Pencil
- Pen
- Paper
- Tape
Instructions for Zentangle Mug:
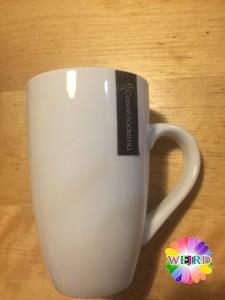
1) Start with a blank mug. It seems like mugs from the Dollar Store work well, with a glaze that allows your design to bake into it cleanly.

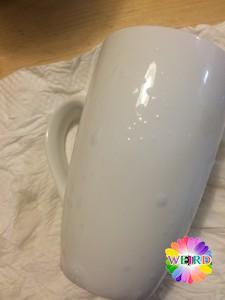
2) Remove all stickers / price tags. You’ll likely leave a bit of the adhesive on the mug, but the mug has to be clean before you ‘tangle on it.
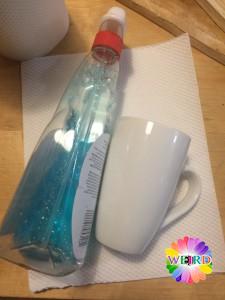
3) Use glass cleaner and paper towels to thoroughly clean the outside of the mug.
4) The mug needs to be really clean, so I recommend that you clean it twice with glass cleaner. Also, wash your hands with dish soap to get as much of the oil off your skin, in order to avoid getting oil on the mug.
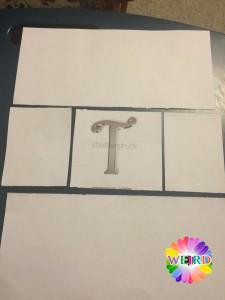
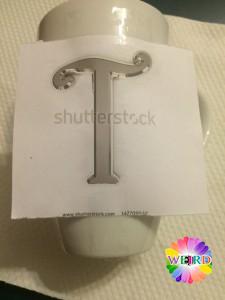
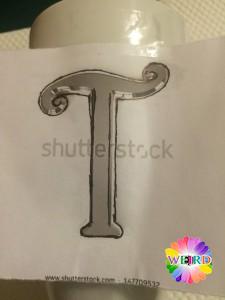
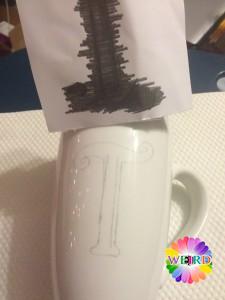
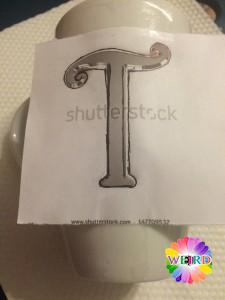
5) If you choose to use an Initial or other design on the mug, you might start by printing the image out with your printer. Then trim the image to fit on the mug.
6) Use a pencil on the back side of the image (paper) to shade the shape.
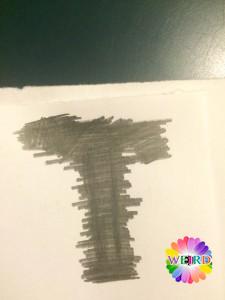
7) Make sure the shape of the letter or image is covered with pencil shading.
8) Tape the paper to the mug with the pencil shading down on the surface of the mug. Line the image up straight on the mug to your preference.
9) Use a ball point pen to trace around the image, to transfer the image to the surface of the mug. Using the pen will give you a clean line of pencil marked on the mug as a guide for painting your image.
10) Carefully remove the paper and the tape from the mug. Be careful not to touch the pencil marks as it will be easy to rub off.
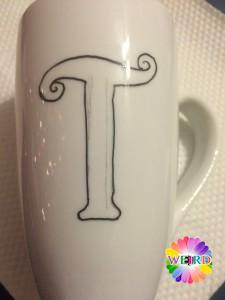
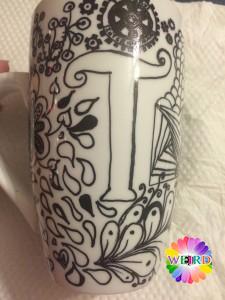
11) Use your Sharpie oil-based paint pen to trace the pencil transfer. Be sure to follow the instructions on the oil-paint pen you’re using. There are different requirements for different brands.
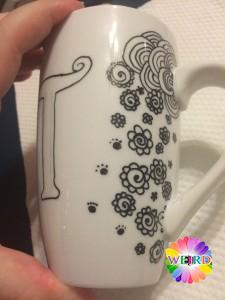
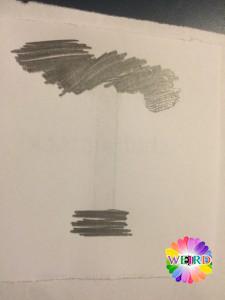
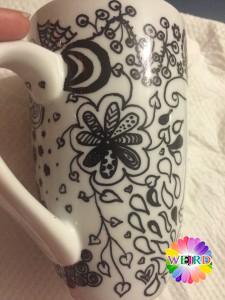
12) Let the first image dry for a few minutes. Then begin ‘tangling in whatever pattern you desire. Be sure to be careful with where you’ve already painted. It will take several minutes for the paint to set. Don’t let your hand touch the paint as you go.
13) As you work your way around the mug, oils from your hand will need to be cleaned off. Wet a corner of the paper towel with glass cleaner, and carefully clean the areas of the mug to be ‘tangled on. This will ensure that the paint actually gets to the glaze.
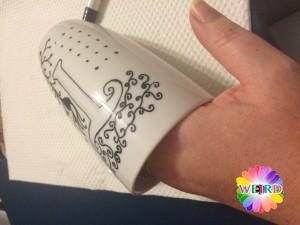
14) This is one way that the mug can be held while you’re working on the zentangle. Put your left hand inside the mug while you draw/paint with your right hand.
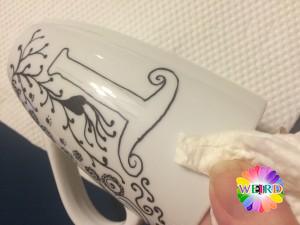
15) If you choose to add a 2nd image or initial to the opposite side of the mug, ‘tangle only about 1/4 way past the first image/initial. Then tape the paper back on the mug, being careful not to tape over any paint. Trace the image with a pen as was done before. Then carefully remove the paper and tape, and continue ‘tangling all the way around.
16) Once you are finished painting your tangles, let the mug dry for 8 hours (at least) or overnight (or as directed by the paint pen instructions).
17) In order to avoid cracking or breaking the mug, place the painted Zentangle mug into a COLD oven, directly on the oven rack. With the mug in the oven and the door closed, heat the oven to 425ºF. Once the oven reaches 425º, bake the mug in the oven for 30 minutes.
18) In order to avoid cracking or breaking the mug, after baking the mug at 425ºF for 30 minutes, turn the oven off and leave the mug in the oven to cool. You can choose to open the oven door to cool it faster, but DO NOT REMOVE the mug from the oven before it is cool.
19) Once the mug is completely cool, you can remove it from the oven. Your zentangle mug is FINISHED!
20) In theory, once the paint is baked on the mug in this manner, the mug should be dishwasher safe. However, I recommend hand-washing your zentangle mug in order to keep your beautiful mug in the best condition as long as possible.
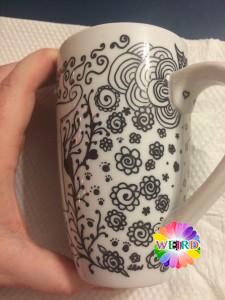
FINAL PRODUCT – a beautiful piece of art, a hand-made zentangled mug!
(PS – Don’t forget to sign your piece, either on the bottom of the mug, or within the ‘tangles, before you bake it.)
Follow-Up Notes:
I found my Sharpie paint pens at Michael’s and online at Amazon. The mugs were just picked up at the Dollar Store, and I ended up buying a case of them so I can tangle a little bit at a time all winter!
Each zentangle mug is customized a little bit for the recipient, as I’ve just been making them for friends and family. You can make your mug as personal or as generic as you like.
For other Zentangle supplies, you can check out My Zentangle store at Amazon:


Trackbacks/Pingbacks